In summary:
- To prove your loss, you must shift your mindset from a victim taking photos to a forensic investigator building a case.
- Every piece of documentation, from digital photo metadata to physical debris, is an exhibit that must be preserved with a clear chain of custody.
- The evidentiary value of your documentation hinges on methodical precision: timestamps, measurements, and organized inventories are non-negotiable.
- This level of preparation psychologically repositions your negotiation, changing it from a plea for help into a presentation of undeniable facts.
The sickening feeling after a flood, fire, or theft is often followed by a wave of anxiety: “Will my insurance company believe me? Will they cover the full extent of my loss?” In that moment of panic, most people grab their phone and start snapping a few pictures, hoping it will be enough. This is the first and most critical mistake. It’s a reactive approach that leaves you vulnerable to disputes, delays, and denied claims.
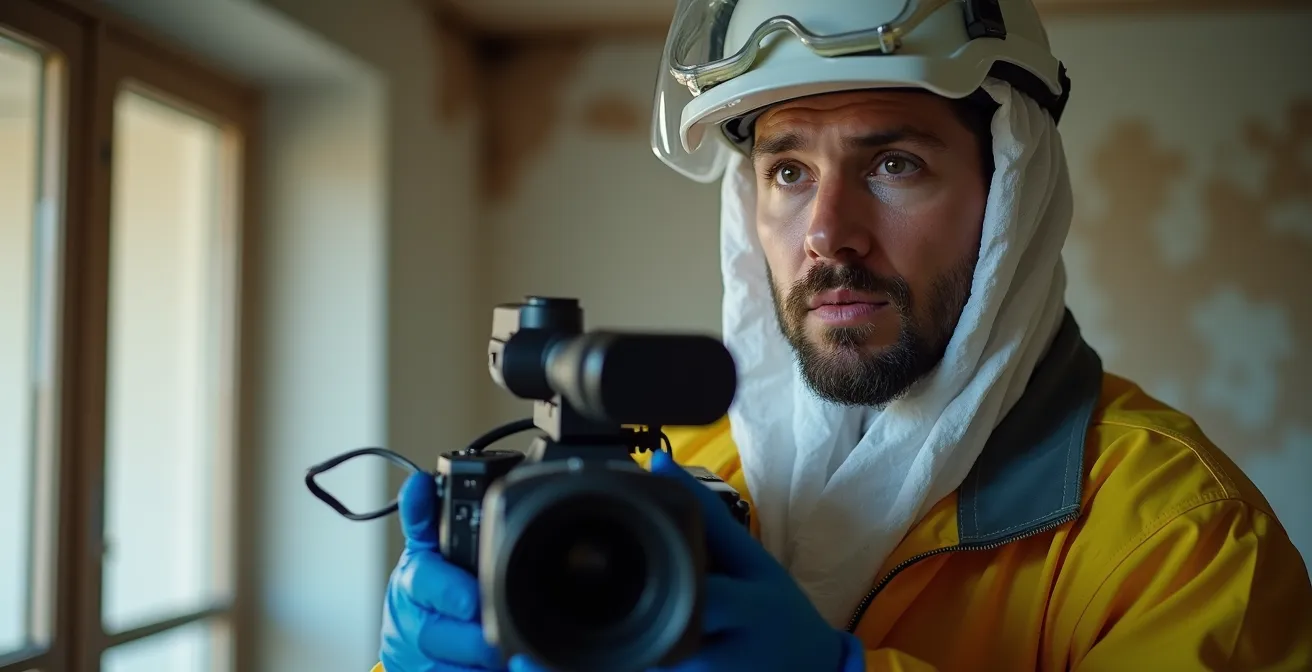
To secure the settlement you are entitled to, you must stop thinking like a victim and start acting like a forensic investigator. The goal is not just to show the damage but to build an irrefutable case file where every piece of evidence is cataloged, authenticated, and valued. It’s about creating a body of proof so thorough and organized that it becomes easier for the adjuster to approve your claim than to fight it. This methodical process removes subjectivity and emotion from the equation, replacing them with cold, hard facts.
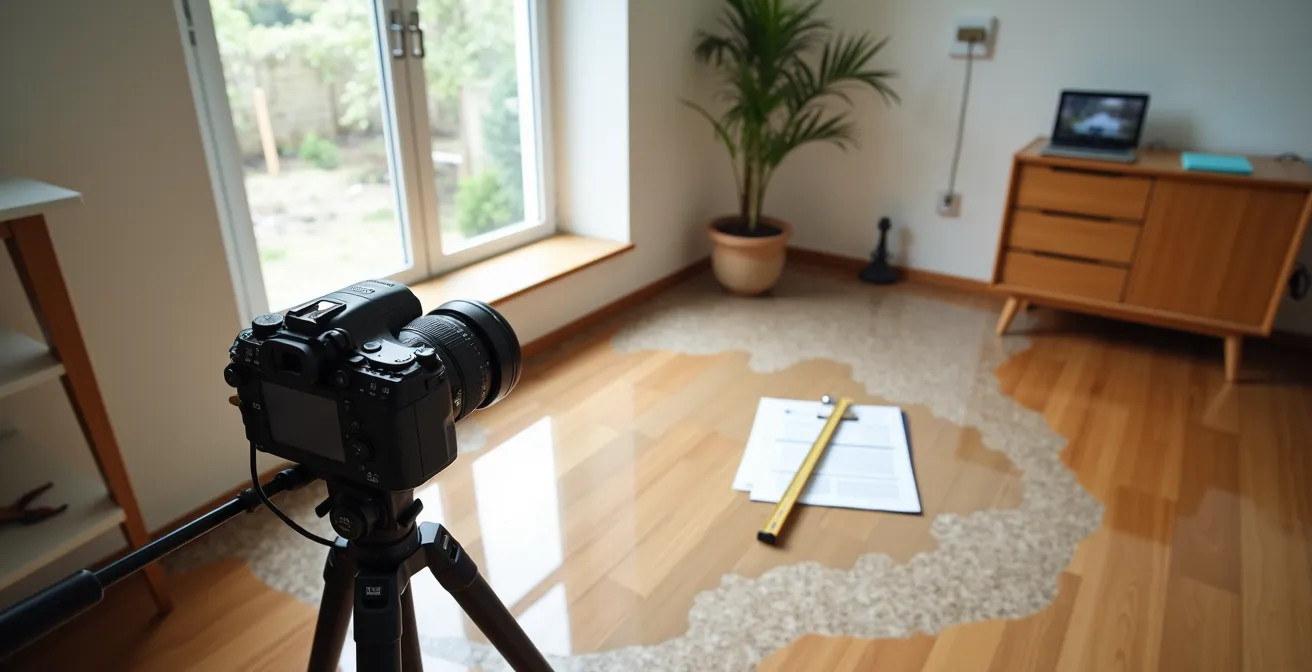
This guide will walk you through the essential techniques used by forensic experts to document loss. You will learn not just *what* to photograph, but *how* to capture evidence that holds up to scrutiny. We will cover the critical role of digital metadata, the strategic preservation of debris, the art of narrating a damage video, and the psychological framework needed to navigate your negotiation with confidence. By adopting this mindset, you transform yourself from a passive claimant into the lead investigator of your own case.
This article details the methodical steps to build your case. The following summary outlines the key areas we will cover, from preserving digital fingerprints to presenting your evidence for maximum impact.
Summary: A Forensic Approach to Documenting Insurance Claims
- Why the Date Stamp on Your Photos Matters More Than the Resolution?
- Throw Away or Keep: What Debris Must You Save for the Adjuster?
- How to Narrate a Damage Video to Highlight Hidden Issues?
- The Freezer Photo Rule That Gets You $500 for Spoiled Groceries
- When to Use a Ruler: The Trick to Proving the Size of Hail Damage?
- How to Photograph a Burst Pipe Before the Plumber Fixes It?
- Why You Need Receipts for Items Purchased Over 5 Years Ago?
- How to Psychology-Proof Your Claim Negotiation for Maximum Success?
Why the Date Stamp on Your Photos Matters More Than the Resolution?
In the world of evidence, authenticity is paramount. A high-resolution photo is useful, but a photo with verifiable, untampered metadata is irrefutable proof. Adjusters are trained to look for signs of fraud, and photos without a clear timeline are immediately suspect. The core of this authenticity lies in the EXIF data (Exchangeable Image File Format), a set of information automatically embedded into every photo you take with a native camera app.
This data is the photo’s digital fingerprint. According to digital forensics experts, EXIF data includes camera settings, lens info, and crucial timestamps that form a verifiable record of when and how the image was created. Using social media apps like Instagram or WhatsApp to take photos often strips this critical data, weakening your evidence. An image with intact EXIF data proves it was taken on a specific date and time, and that it hasn’t been altered since, establishing a clear and defensible timeline of the loss.
To preserve this digital chain of custody, you must treat your original photo files like evidence. This means following a strict protocol:
- Always use your device’s native camera application.
- Do not edit, crop, or apply filters to the original files. Work from copies if adjustments are needed for clarity.
- Transfer the original files directly from your device to a secure storage location, such as a dedicated folder on your computer and a cloud backup service.
- Maintain a simple log that cross-references your photo sets with the date, time, and specific area of damage they depict.
By prioritizing the integrity of your photo’s metadata, you are providing the adjuster with evidence, not just pictures. This forensic approach demonstrates diligence and builds a foundation of trust that is crucial for a smooth claims process.
Throw Away or Keep: What Debris Must You Save for the Adjuster?
After a significant loss event, the instinct to clean up is powerful. However, prematurely discarding damaged materials is akin to destroying evidence at a crime scene—a concept known as spoliation of evidence. The adjuster’s job is to verify the quality and type of materials you lost. Without physical proof, they may default to valuing the cheapest possible replacement, costing you thousands.
You must shift your thinking from “debris” to “material evidence.” The remnants of your high-end carpet, the charred circuit board of an expensive television, or the specific type of shingle blown off your roof are all physical exhibits. These samples allow the adjuster to confirm the “like, kind, and quality” of what you need to replace. Simply showing a photo of a water-stained floor isn’t enough; providing a physical sample of the premium, hand-scraped hardwood allows for an accurate valuation.
A systematic approach to preserving this material evidence is critical. Not everything needs to be saved, but representative samples are non-negotiable. Focus on items that prove quality and value.
Action Plan: Preserving Material Evidence
- Identify Key Materials: Save representative 2×2 foot samples of damaged carpet, flooring, roofing, or siding to prove their quality.
- Preserve Model/Brand Info: Keep fragments of electronics, appliances, or fixtures that show brand names, model numbers, or serial numbers.
- Document High-Value Details: Save labels from high-end appliances, remnants of custom hardware, or swatches of unique upholstery.
- Establish Chain of Custody: Store all samples in clearly labeled plastic bags, noting the date collected and the item’s original location (e.g., “Living Room Carpet Sample – Feb 15”).
- Create a Visual Log: Before removing or sampling any material, take a photograph showing it in its original, damaged context to link the sample to the scene.
By saving these key pieces, you are handing the adjuster the proof they need to justify a higher-value replacement. You are removing guesswork and preventing them from devaluing your loss based on incomplete information.
How to Narrate a Damage Video to Highlight Hidden Issues?
Photographs capture static moments, but a well-narrated video provides a dynamic tour of the damage, establishing context and flow that pictures alone cannot convey. A video allows you to guide the adjuster’s attention, pointing out issues that may not be obvious in a still image, such as the faint water line creeping up a wall or the subtle buckling of a floor joist. However, a silent video is a missed opportunity. Your narration is what transforms the video from a simple recording into a guided forensic report.
The key is to narrate methodically and objectively. Your tone should be that of a reporter, not a victim. State facts clearly and concisely. As you move through a damaged area, your narration should achieve three goals: establish your location, describe what you are seeing, and connect the visible damage to its cause. For example: “I am now in the basement, directly under the first-floor bathroom. As you can see, water is dripping from this ceiling joist. The drywall is saturated, and the water is pooling here on the concrete floor.”
This level of detail is proven to accelerate the claims process. In fact, insurance documentation experts report that detailed documentation with multiple angles and clear narration makes claims faster and reduces the chance of disputes. When you narrate, use forensic language. Instead of saying “everything is ruined,” say “The water damage extends 18 inches up the drywall along this entire 12-foot wall.” Speak slowly, hold the camera steady, and use a flashlight to illuminate dark corners or hidden damage. This professional approach demonstrates your credibility and makes the adjuster’s job of verifying the loss significantly easier.
The Freezer Photo Rule That Gets You $500 for Spoiled Groceries
One of the most commonly overlooked or under-claimed losses after an extended power outage is spoiled food. Many policyholders assume it’s not worth the effort or don’t know how to prove the value of what was lost. A simple grocery receipt is often not enough. To successfully claim the typical $500 to $1,000 worth of spoiled food, you must follow a specific, multi-step photographic protocol that leaves no room for doubt.
The goal is to create a three-part visual story: proof of a full appliance, proof of the volume of items lost, and proof of the specific items for valuation. Simply taking a single photo of an open, messy freezer is insufficient. The adjuster cannot determine the quantity or value from a chaotic image. Instead, you must present the evidence in a structured, deliberate manner that makes inventory and valuation straightforward.
The following table, based on guidance from professional large loss claim documentation lists, outlines the mandatory photographic steps. Each photo serves a distinct evidentiary purpose.
| Documentation Type | What to Include | Purpose |
|---|---|---|
| Closed Door Photo | Full freezer/fridge exterior | Establishes appliance was full |
| Open Door Photo | Interior showing quantity | Shows volume of items lost |
| Laid Out Items Photo | All items arranged and visible | Complete inventory evidence |
| Inventory Spreadsheet | Item, Brand, Size, Store, Cost | Detailed valuation support |
For the final “Laid Out Items” photo, arrange all spoiled items on a table or the floor before discarding them. Group like items together. This photograph, paired with your inventory spreadsheet detailing each item’s estimated replacement cost, provides the adjuster with a complete and undeniable package. This forensic method turns a potential dispute into a simple line item they can approve.
When to Use a Ruler: The Trick to Proving the Size of Hail Damage?
When it comes to external structural damage, particularly from hail, size is everything. Insurance policies often have specific thresholds for what constitutes payable damage. A photo of a dented roof shingle is subjective; a photo of a dented shingle next to a ruler is a piece of evidence. The ruler provides objective, quantifiable scale, removing all ambiguity about the severity of the impact.

This is critically important because insurers have clear standards. According to industry data, hailstones 1 inch or larger in diameter typically justify insurance claims, and adjusters often look for a certain density of these impacts. Your documentation must prove that the hail that hit your property met this size criterion. During or immediately after a hailstorm, if it is safe to do so, collect a few of the largest hailstones and photograph them next to a ruler or a coin (like a quarter, which is just under 1 inch in diameter) before they melt. This establishes the “weapon” that caused the damage.
Next, apply the same principle to the damage itself. When photographing dents on siding, roofing, or vehicles, place a ruler directly next to the impact mark. Take two shots: a close-up showing the measurement and a wider shot showing the ruler and dent in the context of the larger surface. This proves not only the size of the individual impacts but also their location and density. Without this scale reference, an adjuster could argue the dents are from normal wear and tear or a less severe storm. The ruler makes your claim scientifically sound.
How to Photograph a Burst Pipe Before the Plumber Fixes It?
A burst pipe is a dynamic, chaotic event. Your primary responsibility is mitigation—stopping the flow of water and preventing further damage. However, in the moments before the plumber arrives and begins repairs, you have a brief window to capture crucial evidence. Documenting this stage is vital because it proves the cause of the loss and the initial extent of the water’s path before it’s cleaned up or repaired.
Your goal is to tell the story of the failure. Don’t just photograph the puddles; document the source and the journey the water took. This establishes a clear link between the failed pipe and all resulting damage, which is essential for ensuring everything is covered under that single claim event. A forensic approach requires capturing several key stages of the event in a logical sequence.
Follow a precise protocol to build a complete visual record of the event before any evidence is altered by repairs:
- Document the Point of Failure: Get clear, close-up photos of the burst pipe or failed fitting itself. Show any corrosion, cracks, or breaks. This is your “smoking gun.”
- Trace the Water’s Path: Photograph how the water traveled from the source. Capture images of it running along joists, down the inside of walls, and through ceilings.
- Record All Affected Areas: Take wide shots of every room or area where water pooled or made contact. Show the initial high-water marks on walls and furniture.
- Document Mitigation Efforts: Take pictures of your attempts to limit the damage, such as buckets collecting water, towels blocking its spread, or fans being set up. This proves you acted responsibly.
- Secure a Professional Statement: Ask the plumber to provide a simple written statement or note on the invoice describing the cause of the failure. This expert third-party validation is incredibly powerful.
Capturing this evidence before it’s gone is a race against time. This pre-repair documentation provides a baseline that prevents an insurer from later questioning the scope of the water damage or attributing it to a pre-existing issue.
Why You Need Receipts for Items Purchased Over 5 Years Ago?
One of the most challenging aspects of a large property claim is proving the value of items you’ve owned for many years. An insurer’s first question will be, “Do you have the receipt?” For a new television, that’s easy. For a quality leather sofa bought eight years ago, it’s a significant problem. Without proof of purchase, adjusters may assign a low “actual cash value” (ACV) based on a generic, low-quality equivalent. This is where you must become a digital archaeologist.
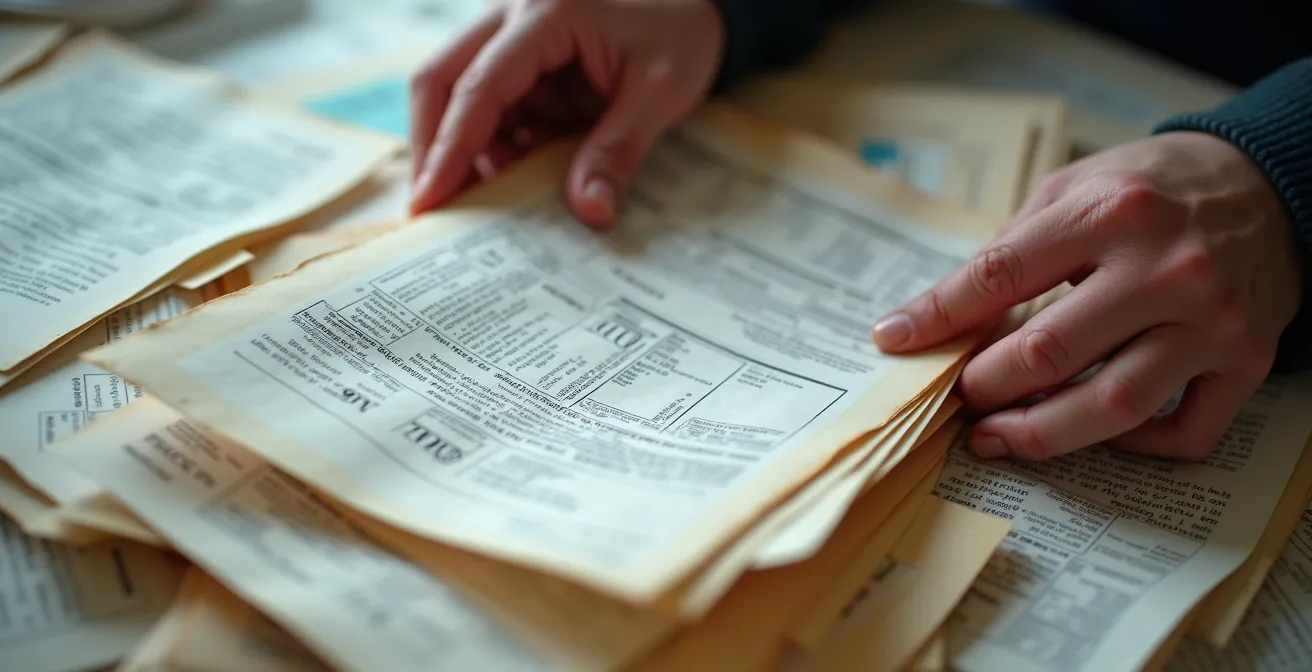
A physical receipt is only one form of proof of purchase. Your task is to reconstruct the item’s value using any available data. Think beyond the shoebox of old papers. Your digital life is an archive. Search old email accounts for order confirmations from online retailers. Comb through credit card statements from the likely time of purchase; a line item showing a significant purchase from a furniture store can serve as powerful circumstantial evidence. Look for old photos of the room where the item was visible, which can help establish its age and condition over time.
Creating this “valuation file” for high-value older items is essential. For each item, compile any shred of evidence you can find: the credit card statement, a product manual found online for that model year, a photo of it in your home. This effort demonstrates that the item was not a generic placeholder but a specific, quality possession. Keeping records is a long-term strategy; financial and insurance experts recommend that all documentation related to a property damage claim be kept for at least 7 years after it’s resolved, for both tax purposes and to address any potential future disputes.
Key Takeaways
- The unedited metadata (EXIF data) from your phone’s native camera app is your most powerful tool for proving when and where damage occurred.
- Physical samples of damaged materials (carpet, flooring, roofing) are not trash; they are material evidence required to prove the quality of what you lost.
- A meticulously organized and cross-referenced folder of photos, videos, inventories, and receipts transforms your claim from a request into a formal presentation of evidence.
How to Psychology-Proof Your Claim Negotiation for Maximum Success?
The final stage of the claims process is the negotiation. This is where all your forensic preparation pays off. The dynamic of this conversation is determined entirely by the quality of the evidence you have presented. When you submit a disorganized claim with a few blurry photos, you are implicitly asking the adjuster to do the work of figuring out your loss. This puts them in a position of power and invites skepticism. You are, in effect, a supplicant.
However, when you submit a forensic case file—a well-organized binder or digital folder with time-stamped photos, narrated videos, detailed inventories with valuations, and samples of material evidence—you completely invert the psychological dynamic. You are no longer a supplicant; you are a professional presenting a finalized report. You have done the work for them. Your organization sends a powerful, non-verbal message: “I am meticulous, I am prepared, and I have documented every detail. My valuation is based on this concrete evidence.”
This approach doesn’t require aggression or confrontation. It’s about calm, professional confidence built on a foundation of irrefutable facts. It makes the adjuster’s job easier, and as one claims expert notes, it frames their decision in a new light. As noted in the Insurance Claim Recovery Support Guide, this preparation has a direct psychological impact:
Thorough documentation makes it easier for the adjuster to accept your claim than to fight your meticulous organization.
– Insurance Claims Expert, Insurance Claim Recovery Support Guide
Remember to maintain this professional demeanor in all communications. Keep a log of every conversation, noting the date, time, and the representative’s name. Respond to requests promptly and always refer back to your documented evidence. This psychology-proofs the negotiation by keeping it focused on facts, not feelings, and positions you for maximum success.
Your preparation is your most powerful asset in securing a fair and just outcome. Begin today by creating a forensic documentation kit and organizing your records. This methodical approach is the ultimate strategy for turning a stressful, uncertain process into a managed, evidence-based negotiation.