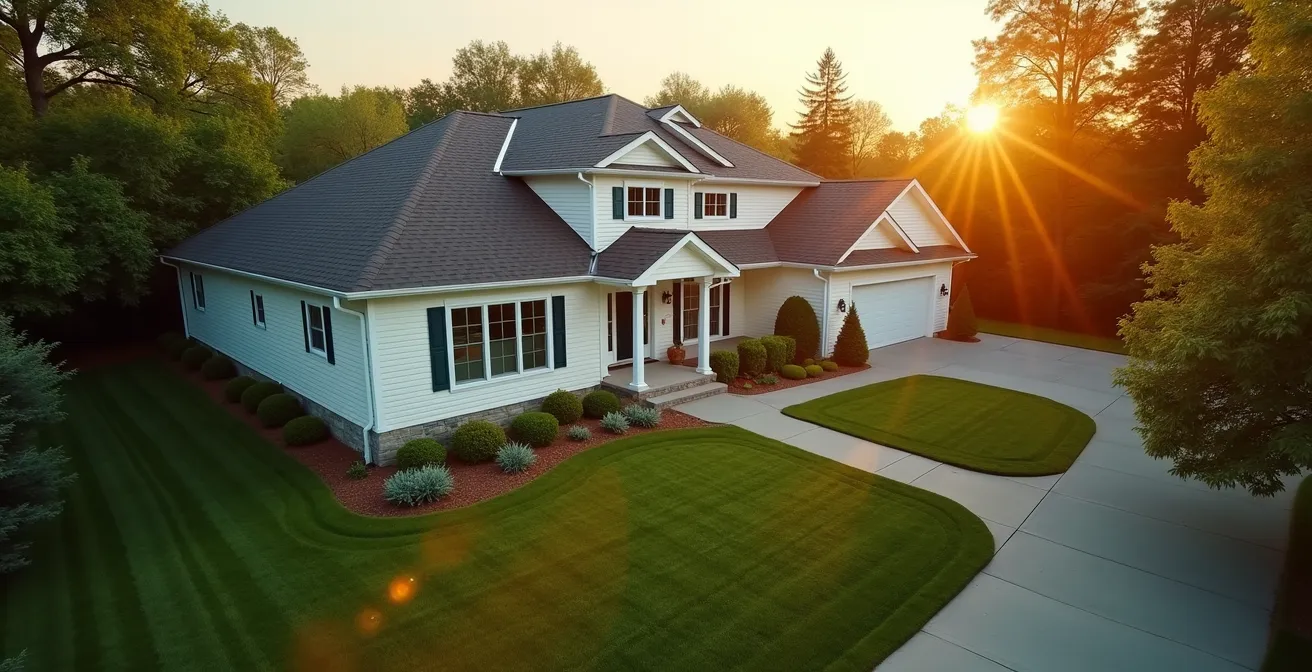
True property asset preservation is not about endless checklists, but about making strategic micro-investments in your home’s core systems to prevent catastrophic value erosion.
- Focus on managing water, moisture, and ventilation—the primary drivers of costly structural decay.
- Prioritize repairs based on the “Cost of Deferral” and the risk of a small issue causing a cascade of failures.
Recommendation: Adopt a proactive mindset by creating a documented maintenance schedule that treats your home like the valuable, appreciating asset it is.
For most long-term owners, protecting their most significant asset—their home—revolves around two concepts: having good insurance and reacting to problems as they arise. A leak appears, you call a plumber. The paint peels, you hire a painter. This reactive cycle, while necessary, is fundamentally a defensive strategy. It’s about “insuring” against disaster rather than actively “preserving” value. We’re often told to follow generic maintenance checklists, but these lists rarely explain the critical financial ‘why’ behind each task.
But what if the key to maintaining your home’s resale value wasn’t just about fixing what’s broken or applying a fresh coat of paint? What if it was about understanding your property as a series of interconnected systems? The true shift from insuring to preserving happens when you move from a reactive mindset to a proactive, strategic one. This involves identifying the small, often unseen, points of failure that can trigger a cascade failure of costly, value-destroying problems. It’s about investing a little in prevention to avoid spending a fortune on a cure.
This guide provides a new framework for property maintenance. It will walk you through the critical systems of your home, revealing how minor, targeted upkeep in areas like water management, ventilation, and structural integrity delivers an outsized return on investment. You’ll learn how to think like a preservation consultant, prioritizing tasks not by what is most visible, but by what poses the greatest risk to your home’s long-term health and financial worth.
For those who prefer a visual format, the following video offers valuable insights into professional technical assistance for heritage homes, complementing the strategic principles discussed in this guide.
To help you navigate this strategic approach, we’ve broken down the core components of asset preservation. The following sections detail the highest-impact areas where a small investment of time and money can protect you from the most significant financial losses and maintain the highest possible resale value for your property.
Summary: A Strategic Guide to Home Asset Preservation
- Why Gutter Extensions Are the Cheapest Asset Preservation Tool?
- Vinyl or Brick: How Cleaning Schedules Affect Siding Lifespan?
- Heat and Moisture: How Poor Ventilation Rots Your Roof from Inside?
- The Slope Mistake: How to Re-Grade Your Yard to Preserve the Foundation?
- When to Re-Caulk Windows: The 5-Year Cycle for Energy and Water?
- What to Fix First When You Don’t Have Enough Money for Everything?
- Why Clearing Brush Is More Effective Than Fire Retardant Gel?
- How to Execute a Maintenance Schedule That Satisfies Insurance Auditors?
Why Gutter Extensions Are the Cheapest Asset Preservation Tool?
Water is the single greatest enemy of your home’s structural integrity. While homeowners often focus on roof leaks, the most insidious damage frequently starts at ground level, caused by overflowing gutters and poorly managed downspouts. When water is deposited directly against your foundation, it saturates the soil, exerts immense hydrostatic pressure, and inevitably finds its way into your basement or crawlspace. This leads to mold, rot, and catastrophic structural failures, with studies showing that foundation damage from poor drainage can cost an average of $8,000 to repair.
Gutter extensions are the simplest, most cost-effective tool to combat this. For an investment of less than $100 and an afternoon of work, you can redirect thousands of gallons of water per year safely away from your home’s foundation. This single action is not a mere repair; it’s a strategic investment in preserving the very core of your property. It prevents the initial trigger of a cascade failure that could otherwise lead to tens of thousands of dollars in damages, making it the highest ROI maintenance task any homeowner can perform.
The following table starkly illustrates the financial logic of proactive water management. The minimal cost of preventative measures stands in sharp contrast to the monumental expenses of deferred maintenance, reinforcing the principle of maintenance as a high-return investment.
| Preventive Measure | Cost | Potential Damage if Ignored | Repair Cost |
|---|---|---|---|
| Gutter Extensions | $50-$150 | Foundation Cracks | $5,000-$15,000 |
| Regular Cleaning | $100-$450 | Fascia Rot & Water Damage | $8,000 |
| Gutter Guards | $7-$12/linear foot | Complete Gutter Replacement | $2,200-$5,000 |
To implement this crucial preservation tactic, follow these straightforward steps. This isn’t just a DIY project; it’s a fundamental step in securing your home’s structural and financial future.
- Step 1: Purchase flexible or rigid downspout extensions ($5-$15 per linear foot).
- Step 2: Clean existing downspouts thoroughly before attachment.
- Step 3: Secure extensions with screws or clamps to prevent disconnection.
- Step 4: Ensure extensions discharge water at least 5 feet from the foundation.
- Step 5: Create a slight downward slope for proper water flow.
- Step 6: Add splash blocks at the end for additional protection ($10 each).
Vinyl or Brick: How Cleaning Schedules Affect Siding Lifespan?
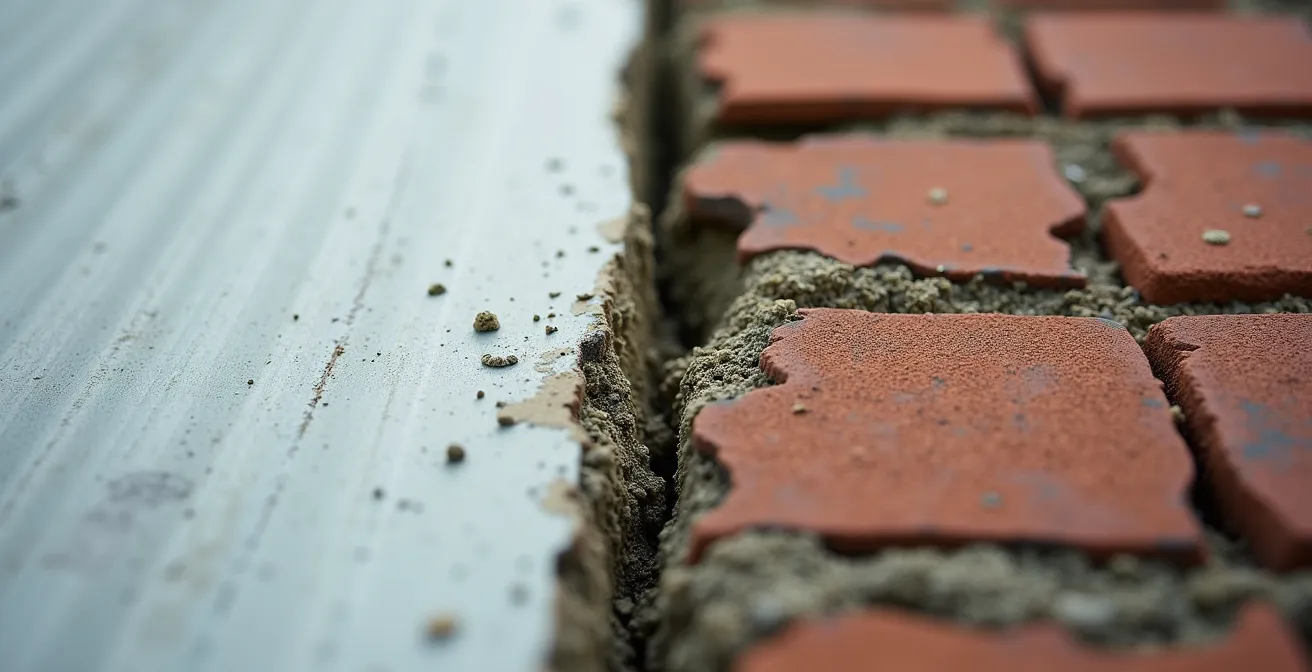
A home’s siding is its first line of defense against the elements—its skin. While many owners view cleaning as a purely cosmetic task to boost curb appeal, its true value lies in preserving the material’s lifespan. Dirt, algae, mold, and other organic matter form a “biofilm” that does more than just look unsightly. This living layer retains moisture and, over time, actively degrades the siding itself, causing significant value erosion.
The specific impact varies by material. For vinyl siding, biofilm can break down the plasticizers that keep the material flexible, leading to brittleness, cracking, and premature failure. For brick, the acidic byproducts of organic growth can eat away at the lime content in the mortar, a process known as spalling, which compromises the integrity of the entire wall. A study of homes with regular cleaning schedules showed that this simple act can extend vinyl siding life by 5-10 years, a significant return on a minor investment.
This illustrates a core principle of asset preservation: maintenance is not an expense but a crucial factor in maximizing the service life of every component of your home. The visual difference between a maintained and neglected surface, as seen below, is a direct reflection of their underlying structural health and long-term value.
Therefore, a biannual cleaning schedule should be considered a non-negotiable part of your preservation strategy. It’s not about keeping up appearances; it’s about actively fighting the slow, silent decay that compromises your building envelope and ultimately diminishes your property’s worth. This proactive approach ensures your home’s “skin” remains healthy and functional for its maximum intended lifespan.
Heat and Moisture: How Poor Ventilation Rots Your Roof from Inside?
When homeowners think of roof problems, they typically look up at the shingles. However, some of the most destructive damage occurs invisibly from within the attic. An improperly ventilated attic acts like a trap for heat and moisture, creating a perfect environment for rot, mold, and structural decay that can drastically shorten your roof’s lifespan. During winter, warm, moist air from your living space rises into the cold attic and condenses on the underside of the roof decking, leading to wood rot and delamination. In the summer, trapped super-heated air can bake the shingles from below, causing them to become brittle and fail prematurely.
A properly balanced ventilation system—with intake vents at the eaves (soffits) and exhaust vents near the peak—creates a continuous flow of air that removes this damaging heat and moisture. This simple, passive system is critical for achieving the full service life of your roofing materials. A well-ventilated roof can easily reach its intended lifespan, whereas a poorly ventilated one may fail in half that time. For a system with a typical asphalt shingle life of 20-30 years, poor ventilation can mean a costly replacement is needed a decade sooner than expected. This is a clear example of how an “unseen” system directly impacts a major capital expense.
Because this threat is invisible, proactive monitoring is essential. Modern smart sensors provide an affordable way to track conditions in your attic and receive alerts before they escalate into costly problems. This shifts your role from a reactive fixer to a proactive manager of your home’s systemic integrity.
Action Plan: Smart Attic Monitoring for Early Detection
- Install a $30-50 smart hygrometer in the attic space to measure humidity and temperature.
- Set alerts on your smartphone for humidity levels rising above 60% in winter or 50% in summer.
- Position sensors at both the lowest (near soffits) and highest (near ridge) points of the attic for a complete picture.
- Connect the device to its app to review historical data and identify dangerous trends over time.
- Schedule brief visual inspections during extreme temperature seasons (hottest and coldest months) to check for signs of condensation or frost.
The Slope Mistake: How to Re-Grade Your Yard to Preserve the Foundation?
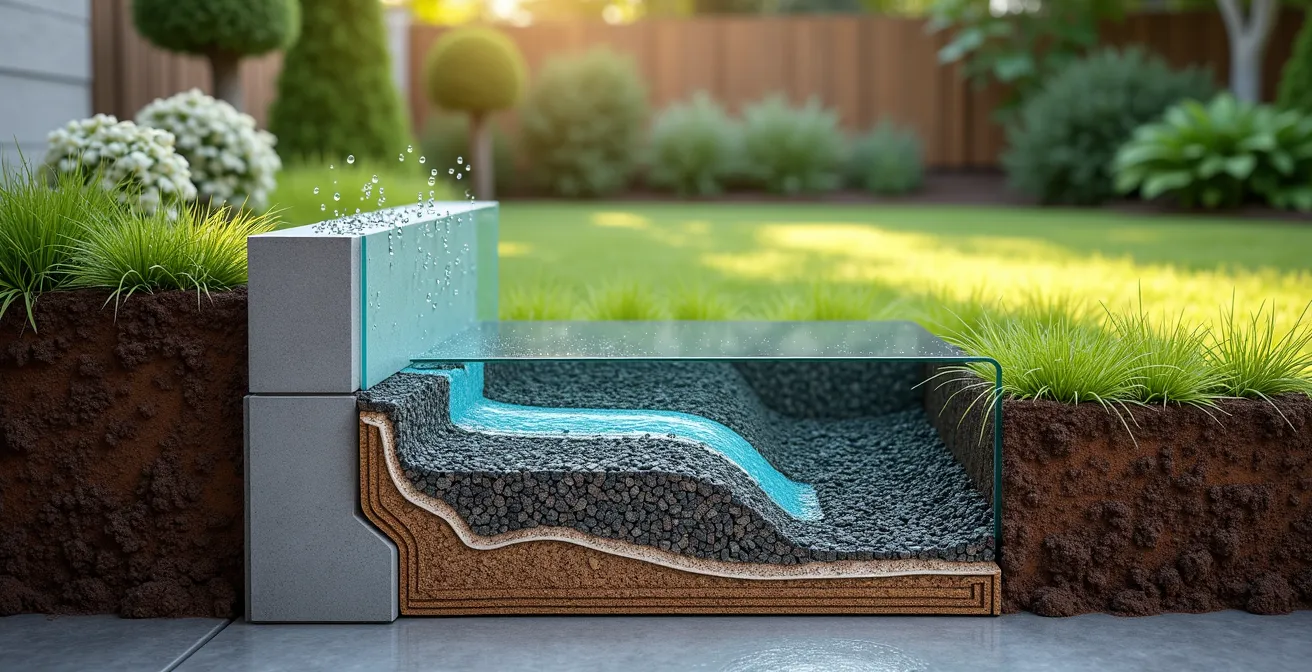
The relationship between your home and the land it sits on is a critical, yet often overlooked, aspect of asset preservation. Many homeowners inherit or create a “slope mistake”: landscaping that is either flat or, worse, slopes toward the house. This directs every drop of rain straight to the foundation, creating the same hydrostatic pressure problems as unmanaged downspouts, but on a much larger scale. Correcting the grade of your yard is not a landscaping project; it’s a fundamental act of structural preservation.
The goal is to create a positive grade, where the ground slopes away from your foundation for at least 10 feet. This ensures that surface water is channeled away from the home before it has a chance to saturate the soil near the foundation walls. Even a subtle slope of about 6 inches over that 10-foot span can be enough to prevent thousands of dollars in water-related damage. This is a prime example of viewing your property as a complete water-shedding system, from the peak of the roof down to the edge of your lawn.
Fixing a grading issue doesn’t always require a massive excavation project. There are tiered solutions to fit different budgets, all of which provide a significant return by protecting your most critical structural element—the foundation. From simple DIY topsoil application to professional hardscaping, each level of investment directly contributes to your home’s long-term stability and value.
The table below outlines common solutions for re-grading, showing that even a small budget can make a significant difference. It highlights the long-term value of investing in permanent water diversion strategies.
| Budget Tier | Cost Range | Solution | Longevity | Maintenance Required |
|---|---|---|---|---|
| Low (DIY) | $200-$500 | Topsoil application | 2-3 years | Annual touch-ups |
| Medium | $2,000-$5,000 | French drain system | 10-15 years | Biannual inspection |
| High | $5,000-$15,000 | Professional regrading | 20+ years | 5-year audit |
When to Re-Caulk Windows: The 5-Year Cycle for Energy and Water?
The caulk around your windows and doors is a small detail with a massive job. It’s a flexible seal that forms a critical part of your home’s building envelope, keeping conditioned air in and water out. However, caulk is not a permanent solution. Exposed to UV radiation, temperature fluctuations, and moisture, it degrades over time, becoming brittle, cracking, and pulling away from the surfaces it’s meant to protect. This failure opens up tiny gaps for water intrusion and significant energy loss.
A proactive homeowner recognizes that caulk has a finite lifespan, typically around 5 years for a quality exterior-grade sealant. Waiting for a visible water stain or a noticeable draft means the damage has already begun. Instead, adopting a 5-year inspection and re-caulking cycle is a strategic act of preservation. This small, inexpensive task prevents water from seeping into wall cavities, where it can cause hidden rot and mold, and it also pays for itself in energy savings by sealing air leaks.
The most common mistake is using the wrong type of caulk for the job, such as an interior-grade latex caulk for an exterior application, which can fail in less than a year. Understanding the differences between materials like elastomeric, polyurethane, and silicone caulks is essential for ensuring a durable, long-lasting seal. This knowledge transforms a simple task into a calculated investment in your home’s efficiency and resilience against water damage. By treating caulking as a scheduled maintenance item rather than a reactive repair, you actively preserve both your home’s structure and your energy budget.
What to Fix First When You Don’t Have Enough Money for Everything?
For any homeowner, the list of potential repairs and upgrades can feel overwhelming, especially when the budget is tight. The key to navigating this is to move beyond a simple to-do list and adopt a system of financial triage. This means learning to prioritize repairs not based on what is most annoying or visible, but on what poses the greatest risk of a cascade failure and what has the highest “Cost of Deferral”—the amount a repair will cost in the future if you ignore it today.
A powerful framework used by professional property managers is a simple 2×2 matrix, plotting “Risk of Cascade Failure” (Low to High) against “Cost of Deferral” (Low to High). A small, active roof leak, for instance, is a High/High priority. The initial fix might be a $50 patch, but deferring it could lead to thousands in interior water damage, rot, and mold remediation. Conversely, a cracked tile in a guest bathroom might be a Low/Low priority; it’s cosmetic and unlikely to cause further damage or become significantly more expensive to fix later.
This strategic approach allows you to allocate your limited funds with the precision of an investor, tackling the most critical threats first. It’s a disciplined method for protecting your asset, ensuring that every dollar spent delivers the maximum preservation value. It transforms a stressful financial puzzle into a clear, actionable plan.
In an emergency with limited funds, follow this triage protocol to stabilize your asset:
- Priority 1: Stop active water intrusion. This is the most destructive force. Use temporary patches, tarps, or caulk to halt water entry immediately.
- Priority 2: Stabilize structural issues. Address anything that could lead to collapse, such as reinforcing a failing deck support or securing a loose railing.
- Priority 3: Address immediate safety hazards. This includes patching holes in floors, fixing faulty electrical outlets, or securing trip hazards.
- Priority 4: Prevent pest entry. Seal gaps and holes in the building envelope to prevent infestations that can cause further damage.
- Priority 5: Improve energy efficiency. Low-cost items like weatherstripping can provide immediate savings that can be funneled into other repairs.
- Priority 6: Address cosmetic improvements. Painting and minor aesthetic fixes should always be the last priority when funds are limited.
Why Clearing Brush Is More Effective Than Fire Retardant Gel?
For homeowners in areas prone to wildfires, risk mitigation is a primary component of asset preservation. In the face of an approaching fire, many are tempted by seemingly quick fixes like fire retardant gels. These products, which are sprayed on a home’s exterior, can offer temporary protection by absorbing heat and moisture. However, they are an Operational Expenditure (OPEX)—a recurring, short-term cost—and their effectiveness lasts only 24-48 hours. They are a reactive, last-minute defense, not a long-term strategy.
In contrast, creating “defensible space” by clearing brush, trees, and other flammable materials within at least 30 feet of your home is a Capital Expenditure (CAPEX). It’s a one-time investment in the permanent safety of your property. This proactive measure fundamentally alters the way a wildfire interacts with your home, often preventing embers from ever reaching it. More importantly, it is a strategy that is recognized and rewarded by insurance companies. As one analysis notes:
Insurers in high-risk areas are now using satellite imagery to deny coverage or increase premiums for properties without clear defensible space.
– Insurance Industry Analysis, Bingaman Hess Real Estate Protection Guide
This distinction is critical from an asset preservation standpoint. While a gel is a temporary shield, defensible space is a permanent reduction in risk that directly impacts your ability to insure the property and can lower your premiums. It is a tangible investment that enhances your home’s survivability and financial viability.
The financial comparison below clearly demonstrates why a CAPEX approach like brush clearing offers superior long-term value and insurance benefits compared to a purely OPEX-based method like using fire gel.
| Method | Type | Initial Cost | Annual Cost | Effectiveness Duration | Insurance Impact |
|---|---|---|---|---|---|
| Brush Clearing | CAPEX | $500-2000 | $200 maintenance | Year-round | Premium reduction |
| Fire Gel | OPEX | $0 | $300-500 per application | 24-48 hours | No impact |
| Combined Approach | Hybrid | $500-2000 | $500 total | Continuous | Maximum reduction |
Key Takeaways
- True asset preservation is a proactive strategy focused on preventing systemic failures, not just reacting to visible problems.
- Your primary focus should be on managing water and moisture, as they are the leading causes of costly structural damage and value erosion.
- Documenting your maintenance efforts in a digital logbook is crucial for satisfying insurance auditors and proving your home’s condition upon resale.
How to Execute a Maintenance Schedule That Satisfies Insurance Auditors?
The ultimate goal of a preservation mindset is not just to maintain your home, but to create a verifiable record of its health and upkeep. This documentation is invaluable for two key moments: when your insurance company audits your property after a claim, and when you decide to sell. A well-maintained property with a detailed history can command a higher price and a smoother sales process. Conversely, a history of neglect, which insurers can now easily spot, may lead to denied claims or difficulty selling.
While many sources recommend budgeting 1-3% of your home’s value annually for maintenance, this rule is meaningless without a system to execute and document the work. An insurance auditor is not interested in your budget; they are interested in evidence of care and diligence. This is where a digital property logbook becomes your most powerful tool. Using a simple cloud storage folder or a dedicated app, you can build an unassailable record of your proactive maintenance.
This logbook should contain everything from date-stamped photos of clean gutters to scanned receipts for HVAC servicing and warranties for new appliances. This system transforms abstract maintenance tasks into tangible proof of asset management. It demonstrates to any third party—be it an insurer, an appraiser, or a potential buyer—that your home has been treated not as a mere dwelling, but as a meticulously cared-for asset. This level of organization conveys competence and builds trust, directly translating into financial security and higher equity.

To create a logbook that will satisfy even the most scrupulous auditor, your system should be consistent and comprehensive. Follow these steps to build your digital property file:
- Set up a digital documentation system (e.g., Google Drive, HomeZada) with folders for each area of your home (e.g., “Roofing,” “HVAC,” “Plumbing”).
- Take before-and-after photos of all maintenance activities and repairs, ensuring your phone’s date stamp feature is enabled.
- Scan and store all receipts for parts, professional invoices for labor, and warranty documents for new installations.
- Create simple monthly or seasonal inspection checklists (e.g., “Check for leaks under sinks,” “Test smoke detectors”) and record their completion.
- Generate a simple annual summary report listing all major repairs and maintenance activities performed throughout the year, ready for insurance renewal discussions.
By adopting this holistic and forward-looking approach, you shift from being a passive resident to an active asset manager. The next logical step is to begin implementing these strategies, starting with a comprehensive audit of your own property’s vulnerabilities and creating your own documented preservation plan.
Frequently Asked Questions on Home Asset Preservation
What’s the difference between elastomeric, polyurethane, and silicone caulks?
Elastomeric caulk offers superior flexibility, making it ideal for joints that experience movement, like expansion joints. Polyurethane provides excellent, durable adhesion and is great for sealing dissimilar materials (e.g., wood to concrete). Silicone excels in high-moisture areas like kitchens and baths due to its waterproof nature, but it typically cannot be painted.
How can I detect air leaks without expensive equipment?
A simple and effective method is to use an incense stick or smoke pen on a windy day. Move it slowly around the edges of windows, doors, and electrical outlets. The smoke will be visibly disturbed or drawn inward near any air leaks. For a more modern approach, affordable thermal camera attachments for smartphones (in the $200-300 range) can precisely pinpoint “thermal bridges” where heat is escaping.
Why does caulk fail before the 5-year mark?
The most common cause of premature failure is using an interior-grade caulk for an exterior application, as it lacks the UV resistance and flexibility to handle weather exposure. Other key factors include improper surface preparation (applying to a dirty or wet surface), applying it in the wrong temperatures, or choosing the wrong type of caulk for the specific materials being sealed.